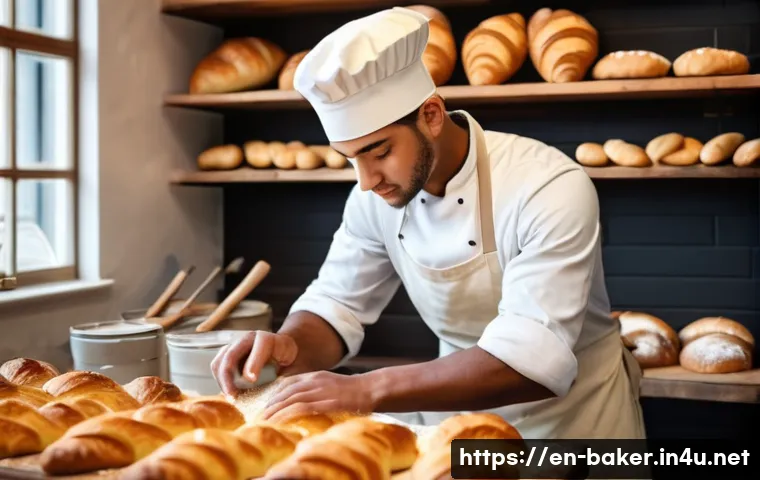
Baking exams can be nerve-wracking, especially with the pressure to perform flawlessly under time constraints. Lately, there’s been a surge in students seeking ways to streamline their preparation and boost confidence in the kitchen.
Whether you’re a beginner or polishing your skills, having the right tools at your fingertips can make all the difference. In this post, I’ll walk you through essential baking supplies that not only save time but also elevate your results.
Trust me, these are game-changers I’ve relied on during my own baking challenges. Ready to ace your practical exam with ease? Let’s dive in!
Essential Measuring Tools for Precision and Consistency
Choosing the Right Scale for Accurate Baking
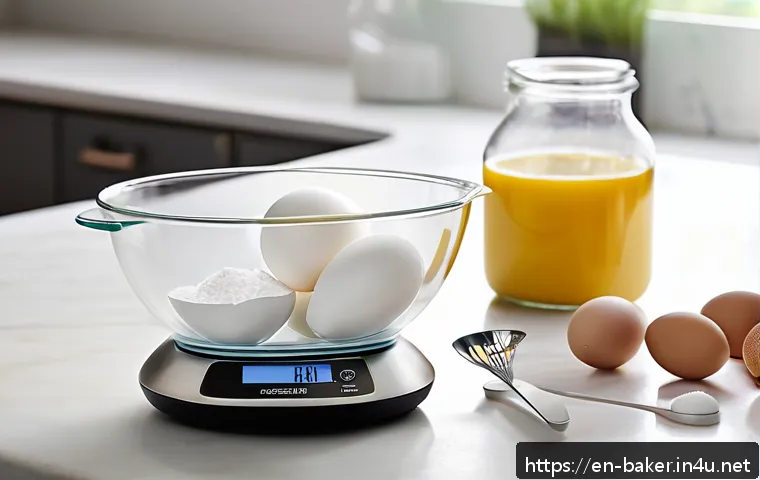
When it comes to baking, precision is everything. Using a digital kitchen scale can transform your approach, allowing you to weigh ingredients down to the gram.
From my experience, relying solely on measuring cups can lead to inconsistencies, especially with flour or powdered sugar, which tend to compact differently depending on how you scoop them.
A scale eliminates this guesswork and ensures every batch turns out the same, which is a huge confidence booster during exams where exactness is key. Look for one with a tare function—it lets you zero out the weight of bowls or containers, making your workflow smoother and faster.
Measuring Cups and Spoons: When to Use Them
While scales are fantastic for dry ingredients, measuring cups and spoons still play a vital role, especially for liquids like milk, oil, or extracts.
I prefer glass or clear plastic cups with marked graduations because I can see the level clearly and avoid overpouring. Metal measuring spoons are great for precision with small quantities of baking powder or spices, which can drastically affect the taste or rise of your baked goods if mismeasured.
Keeping a set dedicated only for baking helps prevent cross-contamination and keeps your measurements reliable.
How Proper Measuring Impacts Baking Outcomes
Consistent measuring isn’t just about accuracy; it directly influences texture, flavor, and appearance. For instance, too much flour can make a cake dry and dense, while too little can cause it to collapse.
I once had an exam where my batter was too runny because I eyeballed the flour, and the result was a lesson in why precision matters. Using the right measuring tools helps you avoid these pitfalls and gives you the confidence that your recipe will behave as expected under exam conditions.
Mixing and Preparation Essentials for Efficiency
Choosing the Perfect Mixing Bowls
Selecting the right mixing bowl can save you time and hassle. I always opt for a set of stainless steel bowls because they’re durable, easy to clean, and don’t retain odors or stains.
Their lightweight nature means you can easily hold and maneuver them while mixing or pouring. Plus, they come in various sizes so you can handle anything from whisking eggs to folding in large quantities of dough.
If you’re prepping multiple ingredients, having nested bowls helps keep your workstation organized.
Whisks, Spatulas, and Dough Scrapers: Your Hands’ Best Friends
Each tool has its own role in streamlining your baking process. Whisks are perfect for aerating batters, helping to incorporate air which is crucial for fluffy cakes and meringues.
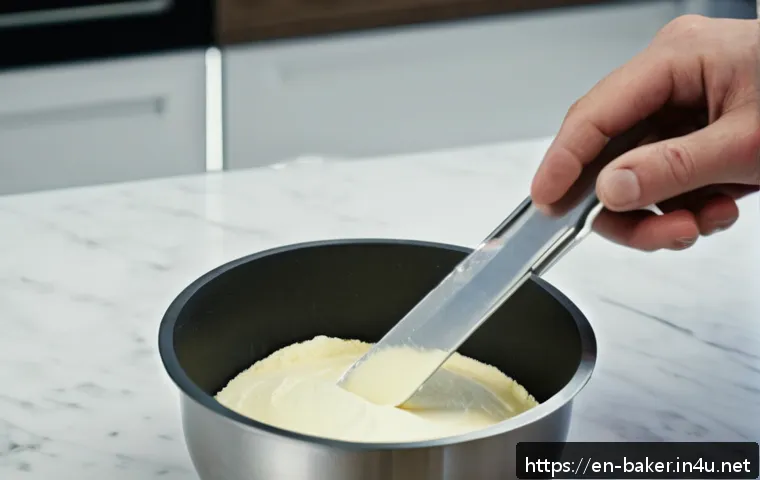
Flexible silicone spatulas excel at scraping down bowls and folding ingredients gently without deflating your mix. Dough scrapers come in handy for kneading and portioning dough with precision—something I’ve found invaluable when working with bread or pastry dough under time pressure.
Having these tools ready and in good condition can speed up your workflow dramatically.
How Tool Quality Affects Your Workflow
From personal experience, cheap or flimsy tools can slow you down and even ruin the texture of your dough or batter. I once struggled with a plastic spatula that bent too much, causing me to lose precious batter on the side of the bowl.
Investing in high-quality utensils with ergonomic handles and sturdy materials makes a noticeable difference, especially when you’re racing against the clock during a practical exam.
Oven and Baking Pans: Getting the Heat Just Right
Understanding Your Oven’s Personality
Every oven behaves a bit differently, and knowing yours can save you from underbaked or burnt disasters. I recommend running a few test bakes to find hot spots or temperature quirks.
Using an oven thermometer is a small investment that pays off by ensuring your oven is actually at the temperature you set, which is critical for consistent results.
During exams, this knowledge helps you adjust baking times or rack placement confidently.
Picking the Right Baking Pans for the Job
The type and size of your baking pans can drastically influence the baking time and texture. For example, metal pans conduct heat differently than glass or silicone.
I’ve noticed that cakes bake faster in dark metal pans, so I reduce the oven time slightly to avoid dryness. Non-stick coatings are handy but sometimes interfere with browning, so I usually grease pans thoroughly regardless of coating.
Having a variety of round, square, and loaf pans on hand allows you to handle any recipe the exam throws at you.
Maintaining and Preparing Pans Efficiently
Prepping your pans well can be a real time-saver. Greasing and flouring pans properly prevents sticking and ensures clean releases, which is vital for exam presentation.
I use parchment paper for certain delicate recipes like chiffon cakes or brownies to guarantee smooth edges. Also, keeping your pans clean and free from residue prevents unwanted flavors or textures.
This small step helped me avoid exam slip-ups when I had back-to-back bakes.
Crucial Ingredients and Storage Tips for Freshness
Selecting Quality Ingredients for Best Results
Nothing beats fresh, high-quality ingredients when it comes to baking success. From my hands-on experience, using fresh baking powder or yeast makes a huge difference in rise and texture.
Checking expiration dates before your exam is a must because even slight degradation can lead to disappointing results. I always buy my flour and sugar from trusted suppliers and store them properly to avoid clumping or pest issues.
Smart Storage to Maintain Ingredient Potency
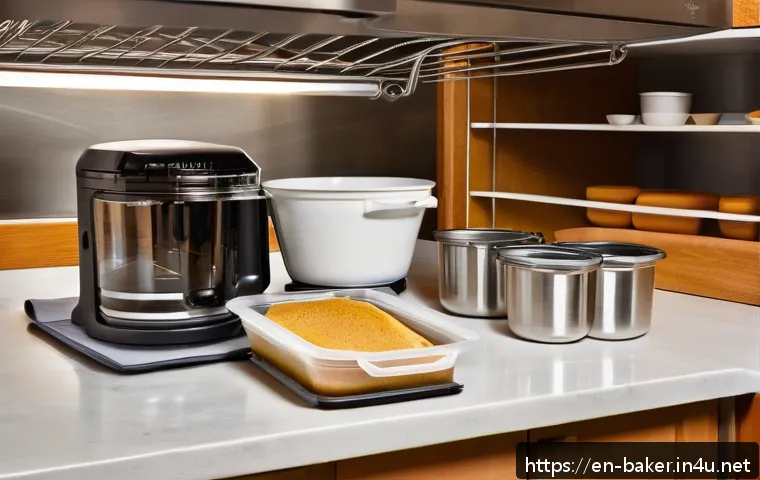
Proper storage extends the shelf life and potency of your ingredients. Airtight containers for flour, sugar, and cocoa powder keep moisture and bugs out, which can ruin your bake.
Refrigerating eggs and butter, especially in warm climates, helps maintain their freshness. I label containers with dates to keep track of how long they’ve been opened.
This habit has saved me from using stale ingredients that could sabotage my exam performance.
Ingredient Substitutions to Know
Sometimes exams throw curveballs with unavailable ingredients. Knowing your go-to substitutions can save the day. For example, if you run out of buttermilk, mixing regular milk with a bit of vinegar or lemon juice works well.
I’ve also swapped baking soda for baking powder in emergencies by adjusting quantities carefully. These tricks come from both research and trial-and-error during my baking journey and can be lifesavers under pressure.
Organizational Strategies to Maximize Exam Efficiency
Setting Up Your Workstation for Success
A tidy, well-planned workstation lets you focus on baking instead of hunting for tools. I recommend laying out all ingredients and utensils before starting, a habit I picked up during timed practice sessions.
Grouping items by the order of use and clearing clutter helps keep your flow uninterrupted. Having a damp cloth handy for quick cleanups keeps your area neat and reduces stress.
Time Management and Multitasking Tips
Baking exams often require juggling multiple tasks at once. I’ve found that reading through the entire recipe and planning your steps beforehand makes multitasking easier.
For example, while dough is resting, you can prepare fillings or clean utensils. Setting timers for different stages prevents overbaking or underproofing.
These little strategies helped me stay calm and efficient when time was tight.
Keeping Track of Your Progress
Writing quick notes or mental checklists during your bake can prevent mistakes or forgotten steps. I sometimes mark off each stage on a scrap piece of paper or in my mind to ensure I don’t skip anything.
This habit was particularly helpful during exams where nerves can cause lapses in concentration. Staying organized mentally helps maintain a steady pace and quality.
Essential Safety and Hygiene Practices
Maintaining Clean Hands and Surfaces
Cleanliness is non-negotiable, especially in exam settings where inspectors watch closely. Washing hands thoroughly before and during baking prevents contamination and keeps your workspace sanitary.
I always sanitize my counters and tools before starting and after handling raw ingredients like eggs. This practice is crucial for both safety and presentation.
Handling Hot Equipment Safely
Oven mitts or heat-resistant gloves are indispensable for preventing burns. I’ve learned the hard way that rushing without proper protection can lead to painful mistakes.
Using sturdy mitts gives you confidence to handle trays and pans swiftly without hesitation, which is critical when timing is tight. Also, knowing your oven’s door mechanism and how to open it safely can prevent accidents.
Proper Waste Disposal to Keep Your Area Tidy
Quickly discarding scraps and packaging helps keep your station clean and reduces distractions. I keep a small trash container within reach during practice sessions, so I’m not scrambling to find a bin.
This habit also speeds up cleanup after the exam, leaving you with extra minutes to review your work or prepare for the next task.
| Tool | Purpose | Why It Matters | My Experience |
|---|---|---|---|
| Digital Kitchen Scale | Precise weighing of dry and liquid ingredients | Ensures consistency and accuracy | Saved me from uneven batters and dry cakes |
| Stainless Steel Mixing Bowls | Mixing and preparation | Durable, easy to clean, various sizes | Improved workflow and reduced mess |
| Oven Thermometer | Verify oven temperature | Prevents over/under baking | Helped me adjust baking times confidently |
| Silicone Spatula | Scraping and folding | Gentle on batter, reduces waste | Made mixing smoother and faster |
| Measuring Cups and Spoons | Measuring liquids and small quantities | Accuracy for flavor and texture balance | Essential for liquids and leavening agents |
In Conclusion
Mastering the right tools and techniques is key to achieving consistent and precise baking results. From accurate measuring to understanding your oven’s quirks, every detail counts. Investing time in preparation and organization will boost your confidence and efficiency, especially during high-pressure situations like exams. Remember, good habits in the kitchen set the foundation for success in every bake.
Helpful Tips to Keep in Mind
1. Always calibrate your digital scale before use to ensure precise measurements.
2. Use clear, graduated measuring cups for liquids to avoid over or under-pouring.
3. Test your oven’s temperature regularly with an oven thermometer to prevent baking mishaps.
4. Keep your baking tools clean and well-maintained to improve workflow and hygiene.
5. Plan your baking steps ahead and organize your workstation to save time and reduce stress.
Key Takeaways
Accuracy in measuring ingredients is crucial to consistent baking outcomes—scales outperform cups for dry ingredients. High-quality, well-chosen tools not only improve efficiency but also enhance the texture and appearance of your baked goods. Understanding your oven’s behavior and properly preparing pans can prevent common baking errors. Maintaining cleanliness and safety throughout the process ensures a smooth and professional baking experience. Lastly, smart organization and time management are indispensable for handling the pressures of baking exams or busy kitchens.
Frequently Asked Questions (FAQ) 📖
Q: uestionsQ1: What are the must-have baking tools for a practical exam?
A: From my experience, a reliable set of measuring cups and spoons is non-negotiable—they ensure accuracy under time pressure. A good quality mixing bowl and a sturdy whisk or electric mixer can save precious minutes when combining ingredients.
Also, having non-stick baking mats or parchment paper ready helps prevent sticking and speeds up cleanup. Don’t forget a sharp offset spatula for smooth icing or batter spreading—it really makes a difference in presentation, which examiners notice!
Q: How can I stay calm and focused during a timed baking test?
A: I’ve found that preparing your workspace beforehand with all your tools and ingredients laid out clearly reduces stress significantly. Practicing the recipe multiple times before the exam helps build muscle memory, so you don’t have to think twice about each step.
During the test, focus on pacing yourself—don’t rush, but keep an eye on the clock. Deep breaths and positive self-talk can also calm nerves; I always remind myself that mistakes are part of learning, and staying calm leads to better results.
Q: Are there any shortcuts or hacks to improve baking efficiency without compromising quality?
A: Absolutely! One trick I swear by is using room temperature ingredients—this speeds up mixing and creates better textures. Pre-measuring dry ingredients into containers before the exam saves time and reduces errors.
Also, using silicone baking molds instead of traditional pans can speed up baking and cleanup. If allowed, prepping simple decorations or garnishes ahead of time gives you extra minutes to focus on baking precision.
These small hacks helped me streamline my process and boost my confidence during exams.